Three-point lightingThe foundation under every face
Three-point lighting builds a face from three sources: a key light that models it, a fill that softens the shadows, and a backlight that separates it from the background. The audience sees a clear, dimensional person, and rarely notices the lights at all.
Also calledClassic lighting setupKey-fill-back lightingTriangle setup
Lighting
Why it works on screen
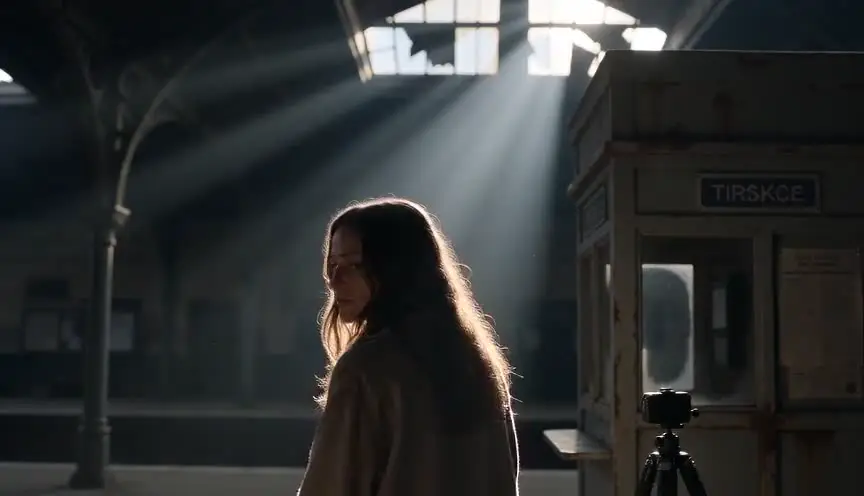
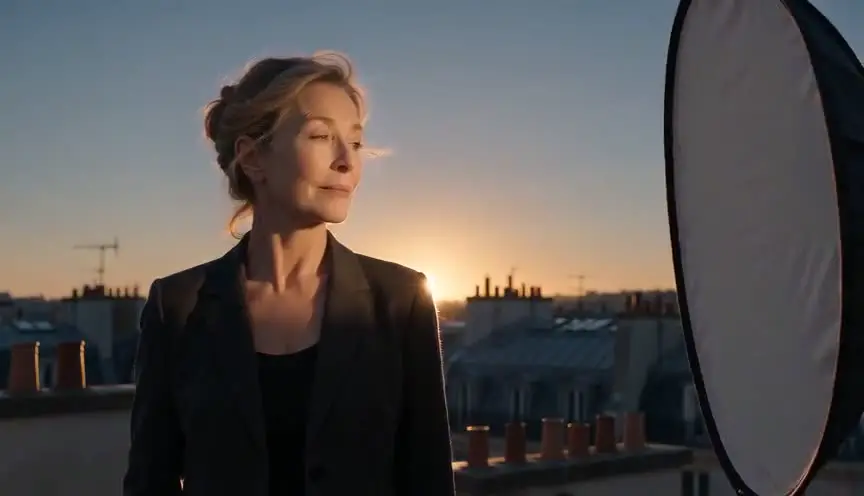
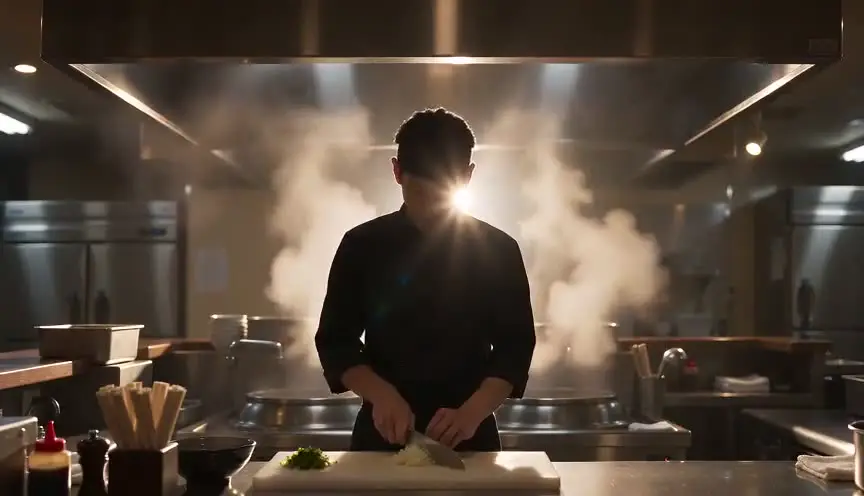
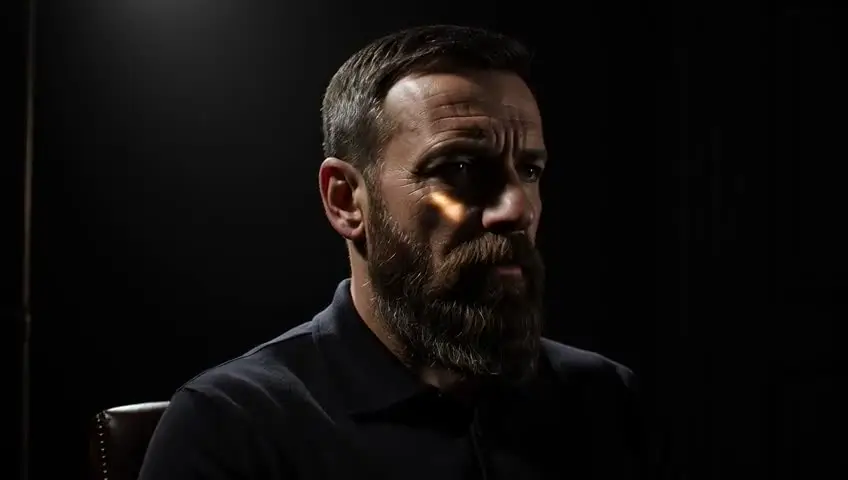
Three-point lighting is less a style than a vocabulary. It serves any scene where faces must be read clearly: interviews, dialogue, close-ups that carry the emotion. By changing the balance, the same three lights tell different stories. A strong key and little fill give tension and mystery. A soft key and generous fill give warmth and openness. A bright backlight adds glamour or a halo of memory. A scene earns a carefully balanced three-point setup when the actors' faces are the story, and when the audience must follow every flicker of thought without being distracted by the lighting itself.
The shot list line
- Size
- Medium close-up
- Angle
- Eye level, face in three-quarter view
- Movement
- Static
- Lens
- 50mm to 85mm
- Duration
- 4 to 10 s
Place the key about 45 degrees off the camera axis and above the eyes, the fill on the opposite side at lower power, and the backlight behind the subject opposite the key.
Screenplay
On the page
Lighting setups do not belong in a spec script, and three-point lighting is invisible by design. What you can write is the source and the mood: a bright studio, a cozy kitchen, a face lit by a window with a lamp behind. The director and the cinematographer build the three points from those clues. If your scene happens in a place where lighting is visible, a television studio, a photo shoot, the setup can be part of the action.
INT. LOCAL TV STATION, STUDIO B, ACCRA - EVENING
Three lamps on stands point at a single chair in front of a weather map.
ABENA MENSAH (20s), in a borrowed blazer, sits down. Her first broadcast.
The floor manager holds up five fingers. Four. Three.
The lamp behind her flicks on and a thin gold line appears around her hair.
Abena exhales and smiles into the red light.
Storyboard
In the storyboard
Draw the face in three-quarter view with light on the key side and softer shade on the fill side, plus a thin light edge on the head and shoulders from behind. In a corner, draw an overhead triangle: subject in the center, key at 45 degrees on one side, fill on the other side near the camera, backlight behind. Write the ratio between key and fill, for example 2:1 or 4:1, and note the motivating source in the scene.
Pairs well with
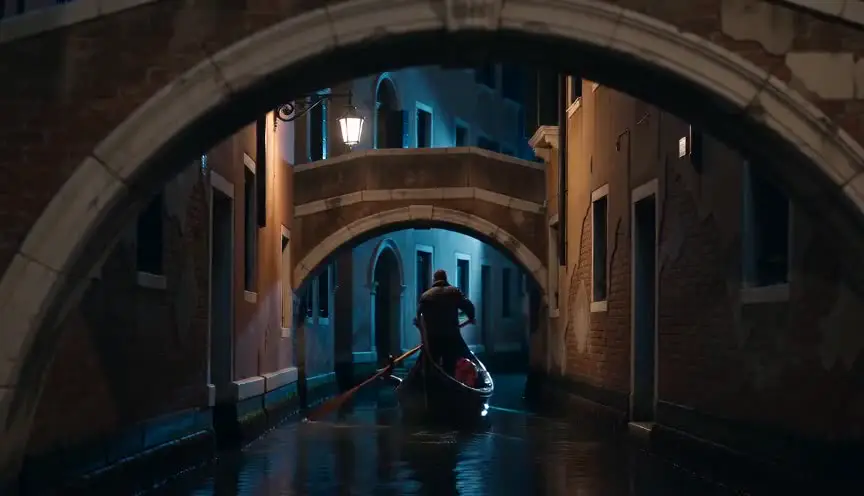
Start with a wide shot where a window, a lamp or a screen explains where the light comes from. The three-point close-up that follows feels natural because the key matches a source the audience has seen.
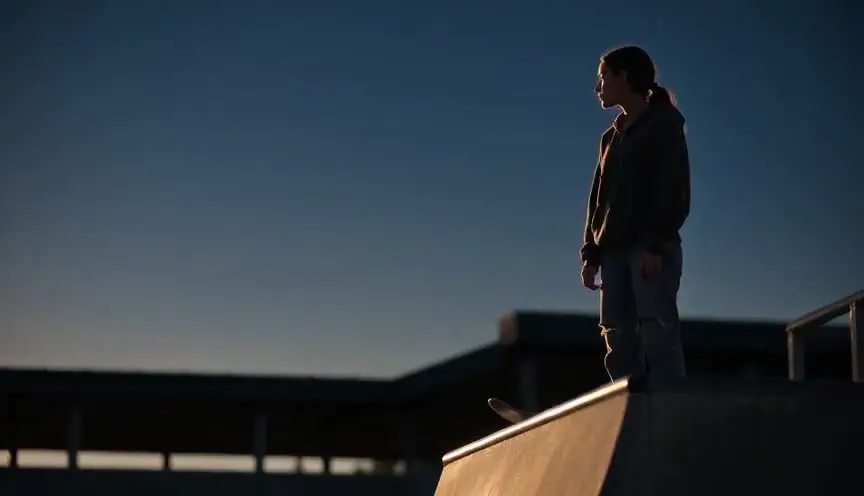
Move from a balanced three-point setup to low-key lighting as a scene turns darker. Dropping the fill and lowering the back lets shadows take over and signals the shift in mood.
Reference
Watch it in
Citizen Kane (1941)
The studio discipline of key, fill and back kept faces sculpted even inside deep, shadow-filled compositions.
Casablanca (1942)
Classic Hollywood glamour relies on textbook key, fill and backlight to keep every close-up polished and full of depth.
ScreenWeaver
Set it up in ScreenWeaver
Give the scene a clear light source in the action lines, and ScreenWeaver breaks it down into shots automatically. Open each close-up, set the framing to a medium close-up, the angle to eye level with the face in three-quarter view, the movement to static and a duration long enough to read the face. Note the lighting setup and the key-to-fill ratio on the shot. The character and the location carry to the next shots, and the AI previsualization helps you judge the mood.
Start writing for freeThe prompt behind this clip
This is the exact prompt that rendered the clip at the top of the page. Keep the description of the camera and the light, change the subject and the place.
Three-point lighting setup, visible in a dark photo studio. A man sits on a stool facing the camera: a soft key light on one side lights his face, a dimmer fill light on the other side softens the shadows, and a back light behind him draws a bright glowing outline around his hair and shoulders, separating him from the black background. The light stands are visible at the edges of the frame. Slow push in. No text.
Common mistakes
- 01
Everything the same power
A key and a fill at equal strength flatten the face and erase the modeling. Keep the fill clearly weaker, then adjust the ratio for the mood.
- 02
Backlight too hot
A strong backlight burns hair and shoulders into white and looks artificial. Dim it until it reads as a thin edge, not a glow.
- 03
Ignoring the room
A perfect textbook triangle can clash with the visible sources in the set. Place the key on the side of a practical lamp or window, so it feels motivated.